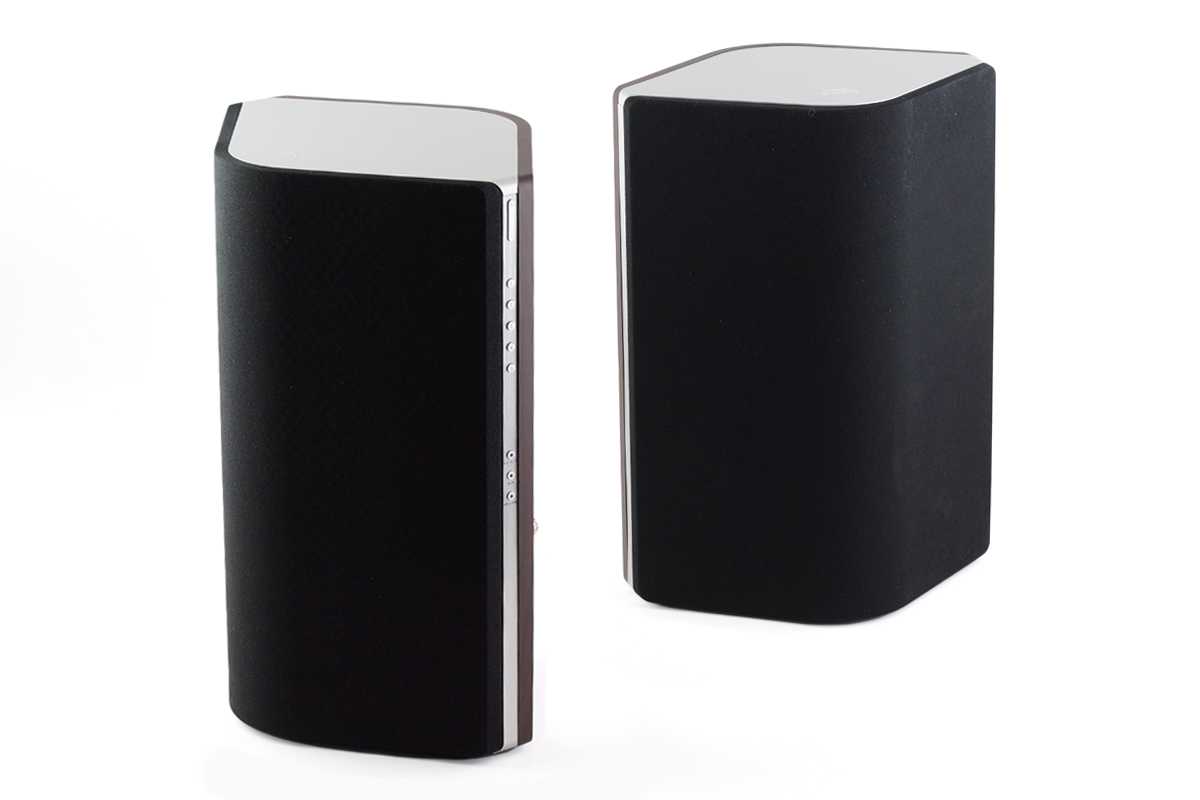
Philips Fidelio A9 (AW9000)
as a UPnP/DLNA renderer
Table of contents:
The Philips Fidelio A9 wireless Hi-Fi speakers are a UPnP/DLNA renderer.
Thus it is possible to not use the AirStudio+ app to control them.
Using standard UPnP/DLNA components, you can play music from your phone or a media server. Depending on your media server, you can also listen to live online streams (radio, youtube, ...) and if your controller app support it, it will allow you to stream your music from Spotify or Deezer to your speakers.
However it is not
possible to replace proprietary functionalities like switching input
source (MP3 link, optical link, analog input). Volume can be
controlled by any UPnP controller, however the equalizer
functionnality (bass, treeble, balance) in AirStudio+ can not be
replaced, it is not a generic UPnP feature.
But these can be done using your web browser and going to http://<speakers IP>:8889/index.htm . You will find out the same interface as in AirStudio+.
Indeed AirStudio+ is a UPnP/DLNA controller/server. Many applications can act as a UPnP controller and also offer local media server capabilities (search UPnP DLNA clients applications).
You will also gain some capabilities by using this setup: handling of more music formats and more online content.
Use AirStudio+ to configure your speakers such that they connect to your wireless network.
Now using any UPnP/DLNA you will be able to see it on your network.
Most UPnP/DLNA client apps can act as a UPnP controller.
Just select the Philips Fidelio A9 as renderer.
They will allow you to browse the music on your phone (or a remote server) and instruct the renderer to get and play it.
Some apps can also act as a media server. In this case, the app will get the content and stream it to the rendrer. It acts as a proxy.
The drawback of this solution is that your app has to run during the whole play.
On Android, you can use BubbleUPnP, MediaHouse, Twonky Beam, LocalCast, Skifta or Streambels.
Setuping a remote media server requires a UPnP/DLNA server to run on your desktop.
The UPnP/DLNA controller will just instruct the UPnP/DLNA renderer to get & play the content on the remote server.
Thus, you can completely disconnect your controller from the network after instructing the renderer. The renderer will play the content without any further action required from the controller.
The Philips Fidelio A9 speakers can't handle OGG Vorbis (despite supporting FLAC) and they need a proxy to access online content when used as a UPnP/DLNA renderer.
Using a media server you will be able to present / stream / transcode more contents (than the standard setup) to the Fidelio A9.
Serviio will provide you with all functionnalities to stream your music, to transcode unsupported formats and to stream online content (radios).
It is quite easy to get full support of Fidelio A9 with it.
In the console, assign the profile “DENON AVR” to the speakers.
If you want a custom profile, you can add this one to profiles.xml:
        <Profile id="pfwa9" name="Philips Fidelio WiFi A9" extendsProfileId="1">
                <Detection>
                        <UPnPSearch>
                          <Server>.*PhilipsIntelSDK.*</Server>
                          <Manufacturer>Philips</Manufacturer>
                        </UPnPSearch>
                </Detection>
                <Transcoding>
                        <Audio targetContainer="lpcm">
                                <Matches container="ogg" />
                		<Matches container="flac" />
                                <Matches container="wavpack" />
                                <Matches container="mpc" />
                		<Matches container="ape" />
                        </Audio>
                </Transcoding>
                <ThumbnailsResolution>HD</ThumbnailsResolution>
        </Profile>
It transcodes all ogg, flac, wavpack, mpc and ape files to Wav.
TwonkyServer can stream all your music and transcode ogg/vorbis files using this profile (to put in usr/local/twonky/resources/devicedb/Philips/):
<Client>
        <DeviceId>
                <DisplayName>Philips Wireless HiFi Speaker A9</DisplayName>
                <DeviceDescriptionRecognition>
                        <DescriptionText>Philips Wireless HiFi Speaker</DescriptionText>
                </DeviceDescriptionRecognition>
                <MappingUpdatePolicy>FIX</MappingUpdatePolicy>
        </DeviceId>


        <MimeTranslations>
                <MimeTypeSuppress>audio/x-ogg</MimeTypeSuppress>
                <MimeTypeSuppress>audio/ogg</MimeTypeSuppress>
                <MimeTypeSuppress>application/x-ogg</MimeTypeSuppress>
                <MimeTypeSuppress>application/ogg</MimeTypeSuppress>
        </MimeTranslations>

        <Adaptations>
                <DLNA>
                        <Version>DLNA15</Version>
                </DLNA>
                <MimeTranslations>
                        <MimeTypeMapping>
                                <In>audio/ogg</In>
                                <Out>WAV</Out>
                        </MimeTypeMapping>
                        <MimeTypeMapping>
                                <In>audio/x-ogg</In>
                                <Out>WAV</Out>
                        </MimeTypeMapping>
                        <MimeTypeMapping>
                                <In>application/ogg</In>
                                <Out>WAV</Out>
                        </MimeTypeMapping>
                        <MimeTypeMapping>
                                <In>application/x-ogg</In>
                                <Out>WAV</Out>
                        </MimeTypeMapping>
                </MimeTranslations>
        </Adaptations>

        <Capabilities>
                <AudioTranscoding>
                        <Source>audio/x-ogg</Source>
                        <Source>audio/ogg</Source>
                        <Source>application/x-ogg</Source>
                        <Source>application/ogg</Source>
                        <Target>WAV</Target>
                </AudioTranscoding>
        </Capabilities>

        <DeviceQuirks>
                <Quirk>IGNORE_STOP_AFTER_PLAY</Quirk>
                <Quirk>NEEDS_STOP_4_AV</Quirk>
                <Quirk>ACCEPT_SAME_SEQ</Quirk>
                <Quirk>POLL_AVT_STATE</Quirk>
                <Quirk>SUBSCRIBE_TWICE</Quirk>
                <Quirk>NOBYTES_IN_TIMESEEK_RESPONSE</Quirk>
                <Quirk>NO_KEYFRAME_SEEK</Quirk>
        </DeviceQuirks>
</Client>
Then you can assign this profile to your speakers in Setting.
You will also need the following converter to be put in cgi-bin/, such that Twonky Server can automatically transcode:
# transcode audio
exec: ffmpeg -i $infile -acodec pcm_s16le -f wav -sn -vn $outfile
# capabilities
from=application/ogg
to=WAV
synchronous
priority=idle
# transcode audio
exec: ffmpeg -i $infile -acodec pcm_s16le -f wav -sn -vn $outfile
# capabilities
from=audio/ogg
to=WAV
synchronous
priority=idle
save them respectively as ogg-ap2wav.desc and ogg-au2wav.desc.
The same should be done for alternative mime-types: “audio/x-ogg” and “application/x-ogg”.
A file called ffmpeg.location must also be created to provide the full path to ffmpeg binary:
/bin/
This media server can be configured to present, stream, transcode any local and online content.
Here, Ogg Vorbis and online streams are transcoded to WAV.
You will need oggdec (package vorbis-tools).
Edit config.xml and add:
<config ... >
	...
	<mappings>
		...
		<extension-mimetype>
			...
			<map from="ogg" to="audio/ogg"/>
			...
		</extension-mimetype>
		<mimetype-contenttype>
			...
			<treat mimetype="audio/ogg" as="ogg"/>
			...
		</mimetype-contenttype>
	...
	</mappings>
	...
	<transcoding enabled="yes">
		<mimetype-profile-mappings>
			...
			<transcode mimetype="application/ogg" using="ogg2wav"/>
			<transcode mimetype="application/x-ogg" using="ogg2wav"/>
			<transcode mimetype="audio/ogg" using="ogg2wav"/>
			<transcode mimetype="audio/x-ogg" using="ogg2wav"/>
			...
			<transcode mimetype="audio/x-mpegurl" using="onlinestream"/>
			...
		</mimetype-profile-mappings>
		<profiles>
			<profile name="ogg2wav" enabled="yes" type="external">
            			<use-chunked-encoding>yes</use-chunked-encoding>
				<mimetype>audio/x-wav</mimetype>
				<accept-url>yes</accept-url>
				<first-resource>yes</first-resource>
		            	<accept-ogg-theora>yes</accept-ogg-theora>
            			<agent command="oggdec" can-seek="yes" arguments='-e 0 -b 16 -o %out %in'/>
            			<buffer size="1024000" chunk-size="262400" fill-size="65536"/>
			</profile>

			<profile name="onlinestream" enabled="yes" type="external">
            			<use-chunked-encoding>yes</use-chunked-encoding>
				<mimetype>audio/x-wav</mimetype>
				<accept-url>yes</accept-url>
				<first-resource>yes</first-resource>
				<hide-original-resource>yes</hide-original-resource>
				<sample-frequency>44100</sample-frequency>
				<audio-channels>2</audio-channels>
				<agent command="onlinestream.sh" can-seek="no" arguments='%in %out'/>
			</profile>
		</profiles>
	</transcoding>
</config>
Save the following script as an executable (for instance in /bin), onlinestream.sh:
#!/bin/bash
exec vlc -sout "#transcode{acodec=s16l,channels=2,samplerate=44100}:std{access=file,mux=wav,dst=-}" "$1"> "$2"

reset
exit
then make it executable:
chmod uog+rx onlinestream.sh
And you should be able to play any ogg file and to stream anything from Internet (just store the URL in a M3U file) to the Philips Fidelio A9.
Be prepared to hear some new details that will make the difference.
You need: SoX, MADPlay and SSRC (Shibatch's resampler)
Philips Fidelio A9 supports WAV input with 24-bit at 48Khz (max).
The decoding chain is as follows:
MP3 or Ogg > Decoder 32-bit no dithering > SSRC resampling + dithering + noise-shaping > WAV 24-bit / 48Khz
MP3 will not be decoded by the Fidelio A9. Ogg Vorbis support is provided by sending directly a WAV stream.
Albeit only upsampling from lower frequencies to 48 Khz will not bring any improvement, going from 32-bit accuracy output (no dithering) AND then resampling + dithering through SSRC (near perfect resampling to 48 Khz) will bring some more details / cleaner sound.
Moreover the Fidelio A9 DAC will not resample on its own because it is already better done at software level. What is done here is the same as a MP3 player: decoding and dithering to 16-bit, but here this is done separately.
Compile and install the tools:
Create the transcoding files:
MP3 to WAV transcoding, mp32wav.sh:
#!/bin/bash
exec madplay -b 32 -d -q --no-tty-control -o wave:/dev/stdout "$1" | exec ssrc_hp --quiet --rate 48000 --bits 24 --dither 4 --pdf 2 /dev/stdin "$2"

reset
exit
chmod uog+rx mp32wav.shOgg to WAV transcoding, ogg2wav.sh:
#!/bin/bash
exec sox --no-dither "$1" -t .wavpcm -b 32 -c 2 - | exec ssrc_hp --quiet --rate 48000 --bits 24 --dither 4 --pdf 2 /dev/stdin "$2"

reset
exit
chmod uog+rx ogg2wav.shEdit config.xml and add:
<config>
...
	<mimetype-profile-mappings>
	...
		<transcode mimetype="audio/mpeg" using="mp32wav"/>
		<transcode mimetype="audio/ogg" using="ogg2wav"/>
		<transcode mimetype="audio/x-ogg" using="ogg2wav"/>
	...
	</mimetype-profile-mappings>
	<profiles>
	...
        	<profile name="mp32wav" enabled="yes" type="external">
			<use-chunked-encoding>yes</use-chunked-encoding>
			<mimetype>audio/x-wav</mimetype>
			<accept-url>yes</accept-url>
			<first-resource>yes</first-resource>
			<sample-frequency>48000</sample-frequency>
			<agent command="mp32wav.sh" can-seek="no" arguments='%in %out'/>
			<buffer size="512000" chunk-size="262400" fill-size="128000"/>
        	</profile>
        	<profile name="ogg2wav" enabled="yes" type="external">
			<use-chunked-encoding>yes</use-chunked-encoding>
			<mimetype>audio/x-wav</mimetype>
			<accept-url>yes</accept-url>
			<first-resource>yes</first-resource>
			<sample-frequency>48000</sample-frequency>
			<agent command="ogg2wav.sh" can-seek="no" arguments='%in %out'/>
			<buffer size="512000" chunk-size="262400" fill-size="128000"/>
        	</profile>
	...
	</profiles>
...
</config>
MADPlay is used here because it produces a better output than mpg123 (in terms of sound fidelity).
Instead of madplay (NOT recommended), you could also use: mpg123 --cpu generic -e s32 -w /dev/stdout "$1" (compile mpg123 without the new Huffman code, "--enable-new-huffman=no")
You should hear some more details in your MP3s with this setup, more realistic and vibrant sound, specially in medium and high frequencies.
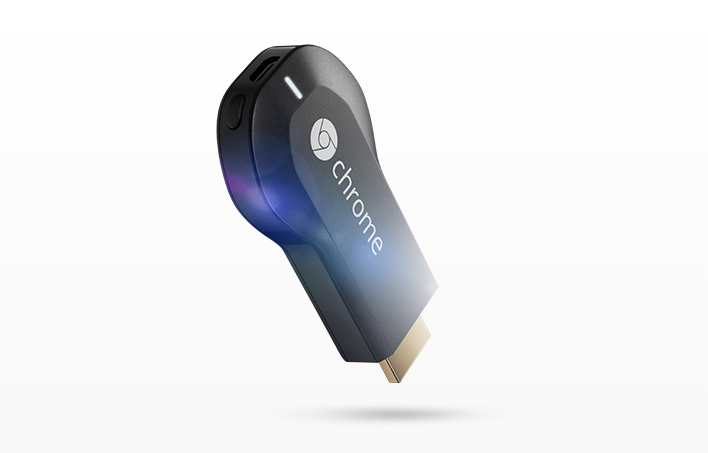
To stream any video to the ChromeCast, you will need to transcode all formats not supported by it. At this time, MP4 (video stream: h264, audio stream: mp3) & WebM are supported, other than that the video must be transcoded to VP8/9.
In config.xml, add the following lines to the "mimetype-profile-mappings" and "profiles" sections:
<mimetype-profile-mappings>
	...
	<transcode mimetype="video/mp2t" using="ffmpeg-chromecast"/>
	<transcode mimetype="video/quicktime" using="ffmpeg-chromecast"/>
	<transcode mimetype="video/x-matroska" using="ffmpeg-chromecast"/>
	<transcode mimetype="video/x-ms-asf" using="ffmpeg-chromecast"/>
	<transcode mimetype="video/x-ms-wmv" using="ffmpeg-chromecast"/>
	<transcode mimetype="video/x-ms-wvx" using="ffmpeg-chromecast"/>
	<transcode mimetype="video/x-ms-wm" using="ffmpeg-chromecast"/>
	<transcode mimetype="video/x-flv" using="ffmpeg-chromecast"/>
	...
</mimetype-profile-mappings>

<profiles>
	...
	<profile name="ffmpeg-chromecast" enabled="yes" type="external">
		<use-chunked-encoding>yes</use-chunked-encoding>
		<mimetype>video/webm</mimetype>
		<accept-url>yes</accept-url>
		<first-resource>yes</first-resource>
		<accept-ogg-theora>yes</accept-ogg-theora>
		<agent command="ffmpeg-chromecast.sh" can-seek="yes" arguments='%in %out %range'/>
		<buffer size="147483648" chunk-size="262400" fill-size="256000"/>
	</profile>
	...
</profiles>
Save the following script as an executable (for instance in /bin), ffmpeg-chromecast.sh:
#!/bin/bash

ffmpeg -y -probesize 5M -analyzeduration 10000000 -i "$1" -vf yadif,scale=1920:1080 \
-vcodec libvpx -deadline realtime -threads 4 -profile:v 2 -g 120 -lag-in-frames 24 -slices 8 -arnr-strength 6 -arnr-maxframes 15 -arnr-type centered -qmin 0 -qmax 30  -cpu-used 5 \
-bufsize 48M -error-resilient 1 -fflags +genpts -acodec libvorbis -ac 2 -b:a 320000 -f matroska "$2"

reset
exit
then make it executable:
chmod uog+rx ffmpeg-chromecast.shThese settings provide the best quality for around 8Mb/s bitrate (deadline realtime: best at current framerate, threads 4: use 4 CPUs, qmin 0 qmax 30: very good quality most of the time at the cost of more bandwidth, profile:v 2: decrease complexity of the stream for the chromecast, slices 8: cut frames into 8 chunk for parallel processing, cpu-used 5: don't use too much CPU to encode in realtime, bufsize 48M: output buffer set to 48Mbit to ensure a continuous stream, fflags +genpts: generate own stream time to prevent errors in original stream, vf yadif,scale=1920:1080: de-interlace and upscale stream to Full HD).